Table of Content
If possible, recoat the DIY wood signs for outdoors in one or two years. When you have your wood board customized to the size you want, sand the wood board with a piece of sandpaper till the surface and edges become smooth. The interchangeable pieces are used in place of the letter "O" in the word HOME. You can choose to cut the designs out of Heavy Chipboard on a Cricut Maker or out of Kraft board in either the Cricut Explore or Cricut Maker. This is the method I have been using for some time also with 1 slight difference, I simply tape my tracing paper to my computer monitor and trace the image. This conserves ink or if your printer is broken this is the solution.
Using the string, trace around the letters or the design. Cut the string when done and measure its length to determine how much wire you will need. If the string measures longer than the amount of wire you have, make the letters smaller or use a shorter phrase. Apply the primer to the wood board with a brush, and allow the wood board to sit and dry for 1-2 full days. You may use glossy, already printed pages from a magazine paper.
How to Make Midge’s Famous Brisket (from ‘The Marvelous Mrs. Maisel’)
Lay out the nine wooden pieces on a sheet of waxed paper, alternating the ash and mahogany strips. Apply a bead of waterproof glue to the edges of each piece, then use an acid brush to smooth out the glue and ensure total coverage. Use the pens on the printed paper to create a visual path for the wire.

These will be used to map out how to thread the wire through the wooden board. The red pen represents the part of the wire that will be hidden, behind the board. Draw the word, or outline a design with pencil on a piece of paper. Draw it as if you are unable to pick up your pencil, since to make the design the whole thing needs to be connected. If making an image, try to draw something simple enough to look clear as an outline. I get this ready-made stencil with the quote “Remain Thankful for Every Moment” by StudioR12 for my wood sign painting project.
MAKE AN EASY DIY HOUSE NUMBER SIGN
I am looking into canva.com and see what all I can find. There might be seven steps listed above, but it literally took me 15 minutes to make BOTH signs. Flip over to the right side of your paper and tape where you want the word to be on your sign. It wouldn’t take you long, say maybe 20 seconds of walking into my home, to realize that I am slowly becoming a textual “art” junkie. Go to any store that sells home goods and decor and you will find them. But now, summer has ended and it’s time to bring on September and all that Fall has to offer us in Michigan!
I have one question that why did u painted with lead letters back. As a grandmother raising children again, I know this is one craft they won’t get tired of! I want to make beautiful art for my home and friends but it gets pretty expensive.
DIY Industrial Farmhouse Bathroom Sign:
This will prove a very friendly and easy way to get you started on this significant new trend. You often have seen these wood signs at most home stores and high-end department stores, and they are too expensive too that you have to spend a lot of fortune to buy them. After the wood sign painting and allowing the paint to dry completely, apply wood sealer to the wood sign board with a clean paintbrush. Making custom wood signs can be a challenge for wood sign carving and wood sign painting beginners. We have collected some of the most frequently asked questions concerning how to make a wood sign and offered our solutions as followed. Now it’s time to pick the color for your wood signs for home.

I’m always looking for thrifty ways to do things because let’s face it, we love to be able to say “This cost me 3 cents to make”. I’ve made address signs, private drive signs, directional signs, and on and on … with carbon paper. To scratch pencil on the back then flip is so laborious. I would agree, however, that Ticonderoga is the best, as far as pencils go. I just wouldn’t use a pencil for a project like this. I’m a busy mom of two little ones who is constantly looking for the yummiest meals that are quick to make for school nights.
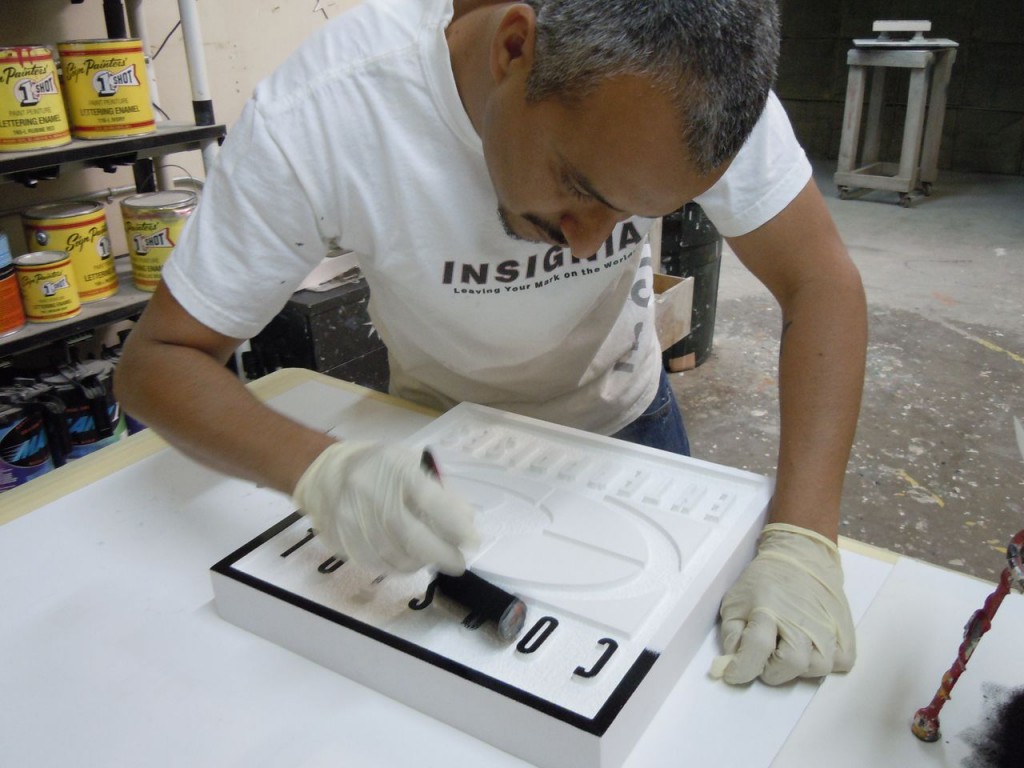
Transfer lettering to the sign
Sanding is a wood surface preparation step which is very likely to be overlooked. Many tend to believe that bare wood is naturally ready-to-go. However, it’s a crucial step to ensure the quality and uniformity of finished wood signs for home. If yes then, this Diy Sign With Gps Coordinates is perfect for the wall's emptiness.
Use the fox fowers glue stick some proper shaping to make this stunning DIY letter sign idea; you'll surely enjoy its beautification. In fall and spring, we all modify our plant pots; this time, try something new and different. Here I will tell you how to build a fall hanging planter, it will look soo unique and impressive, and its creation will express your sense of creativeness. Create a wooden frame, add hanger shaped hook in the upper middle of your wood frame, to hang the plant pot. This DIY project can be done quickly in no time; for more information, follow the link. If you like the vintage feel and are looking for that perfect rustic appeal in your entryway, this vintage farmhouse style sign is a topnotch choice.
A wasted wooden board can be changed into a stylish, beautifying accessory following this wood love rope sign for valentine’s day idea. If you're looking to adorn your home for valentine's day, you will find this DIY project as the best choice in this regard. Adore your home with impressive style and shapes with this DIY farmhouse-style home sign idea. It looks really incredible because it combines classic and modern decor ideas. This whole project has been done using wood so that it wouldn't cost too much.

Suppose you want to promote your laundry organization with the board signs on the front door of your shop. Then this DIY farmhouse laundry sign will hit perfect for it. Get your DIYer nature to do something unique and impressive. In this idea, we make a wooden signboard for laundry, but you can also customize it according to your design. When the stencils are placed where you want it on the wood sign board, lightly dab the paint all over your stencils.
After the mod podge has dried, paint the pieces in your desired colors and embellish as you wish. I did find if my piece curled a bit from the moisture, laying it under some heavy object, like a book, after it had dried will flatten it down again. Once the pieces have all been cut you will need to put a light coating of mod podge on them to seal them. This will help to keep the moisture of the paint from causing your piece to curl. Use the PAUSE button on the Cricut to pause the cutting so you can check the progress and remove any debris that may be loose from the mat. You can also use a blow dryer or heat gun to speed up the drying process.
It’s a shareable spread with multiple kinds of french fries and dipping sauces. Start with at least three different kinds of fries, like potato wedges, shoestring fries, waffle fries, crinkle-cut fries, curly fries or sweet potato fries. With modern charcuterie boards going well beyond cured meats and cheeses, you can put any food on a board if you’re creative enough. Believe us—we’ve tried everything from a hot chocolate board to a taco board!
In this step, I use a wax paint brush with the all-white paint for stencil painting. My daughter has a new dwelling, no money for wall hangings. Another tip, you can use sheet protectors and copy onto them. This may not be correct for a transfer, but if you need something big, this and a borrowed overhead projector is the ticket. Used this for numerous high school projects and for her room.
Pull one side of the vinyl towards the middle and remove the vinyl backing paper. Roll the vinyl slowly laying it down onto the board. First, arrange the vinyl on the board in the position that you desire. I placed my design with a 1-1/2 inch margin on the sides and a 1-inch margin on the bottom. When applying a large piece of vinyl to a board I like to use the Hinge Method. Flip the mat over and remove the vinyl from the mat by rolling the mat away from the vinyl with one hand and holding the vinyl flat to your surface with the other.


No comments:
Post a Comment